Escape from Tarkov, the notoriously unforgiving extraction shooter, isn't for the faint of heart. While games like Counter-Strike 2 offer instant action, Tarkov demands meticulous planning and resource management. One of the most persistent headaches for every player, from the fresh-faced Scav to the grizzled veteran, is the ever-shrinking real estate of their stash. As loot piles up from successful (or disastrous) raids, the initial storage space quickly becomes a chaotic bottleneck, turning a player's sanctuary into a cluttered nightmare. Fear not, for managing and expanding this precious inventory is a core part of the Tarkov journey, and this guide will navigate you through every possible avenue to claim more square footage for your hard-earned gear.
The Foundation: Starting Stash Sizes by Edition
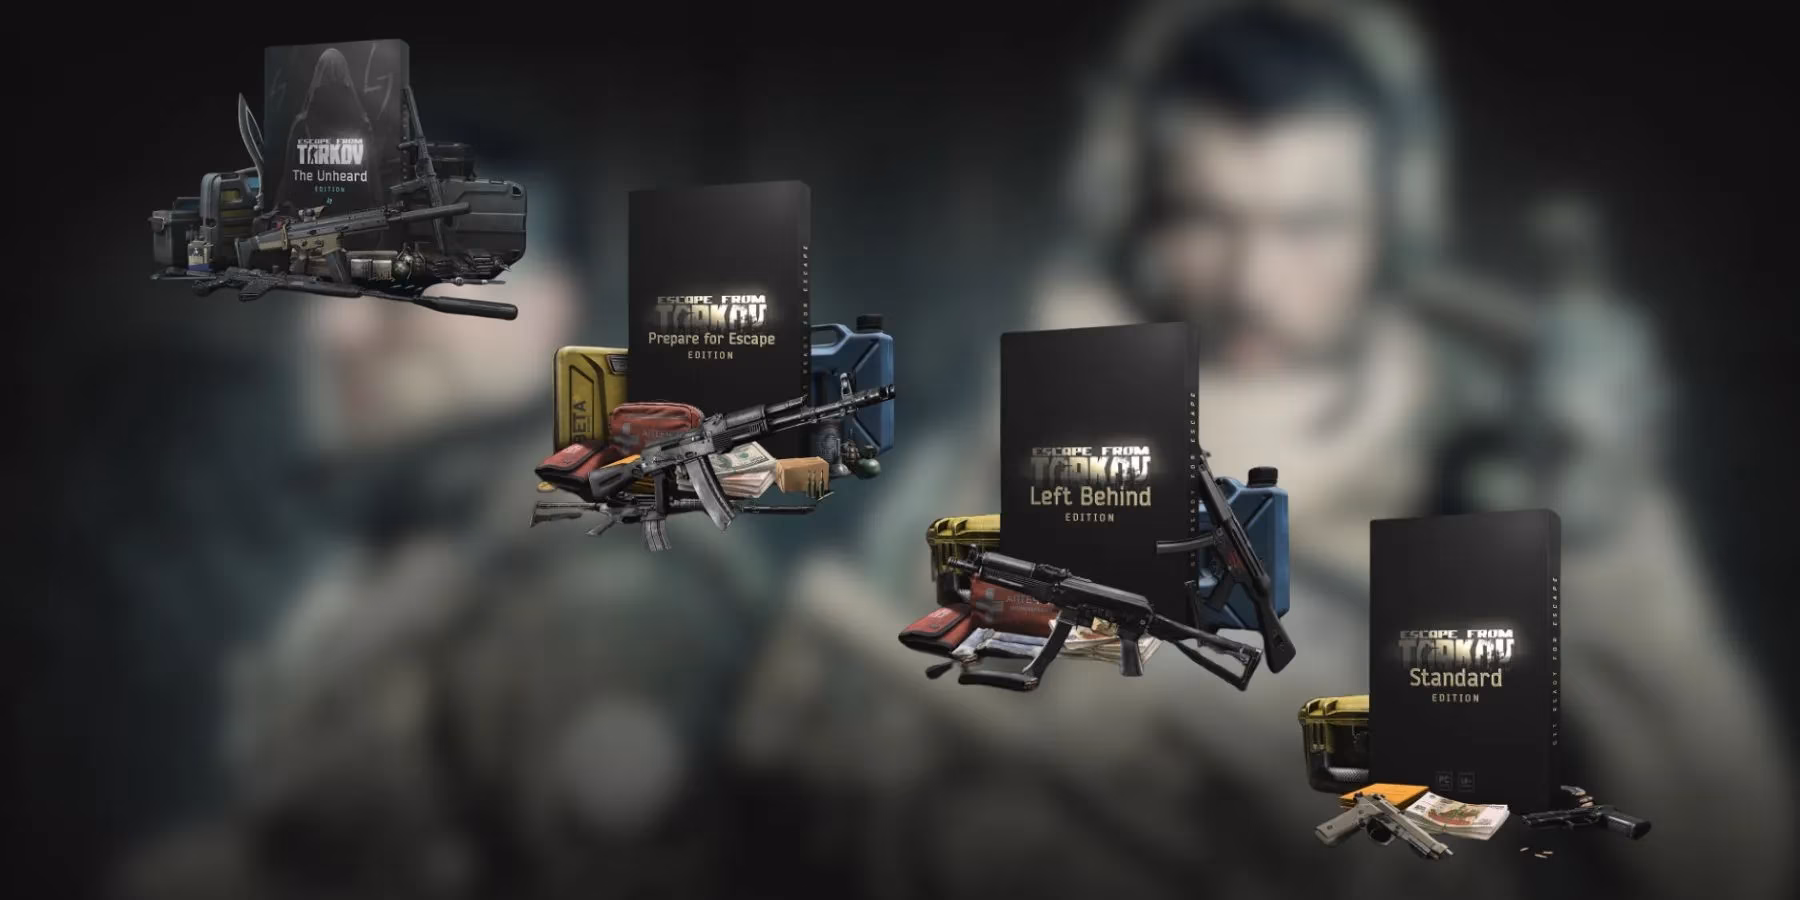
Your initial storage capacity isn't a one-size-fits-all deal; it's directly tied to how deep your pockets were at the initial purchase. Battlestate Games employs a classic tiered system, where a heftier upfront investment buys you a significant head start. Here’s the breakdown of what each edition offers as of 2026:
| Game Edition | Stash Size (Cells) | Approximate Cost |
|---|---|---|
| Standard Edition | 10 x 28 (280 cells) | The base entry point. |
| Left Behind Edition | 10 x 38 (380 cells) | A noticeable 100-cell upgrade. |
| Prepare for Escape Edition | 10 x 48 (480 cells) | The luxury suite of starting stashes. |
The difference is stark. A Standard Edition player starts with a modest closet, while a Prepare for Escape owner gets a walk-in wardrobe. This initial disparity often leads to the first major decision point for dedicated players: to grind or to pay?
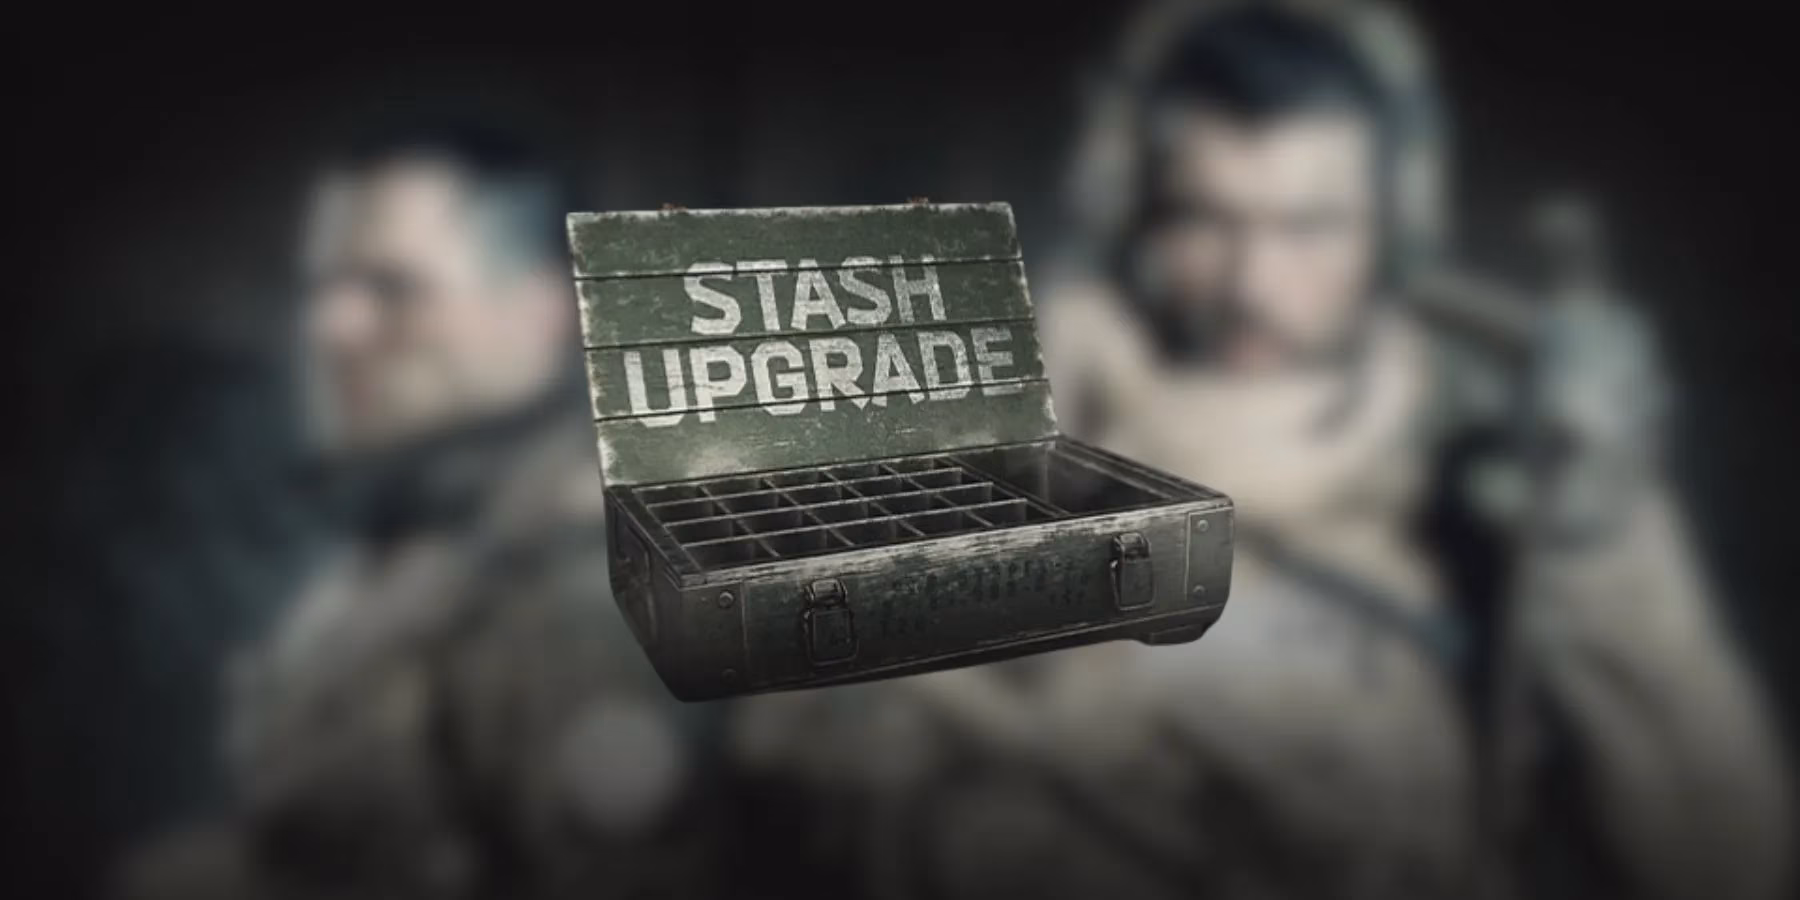
Method 1: The Direct Purchase (The Wallet Warrior's Path)
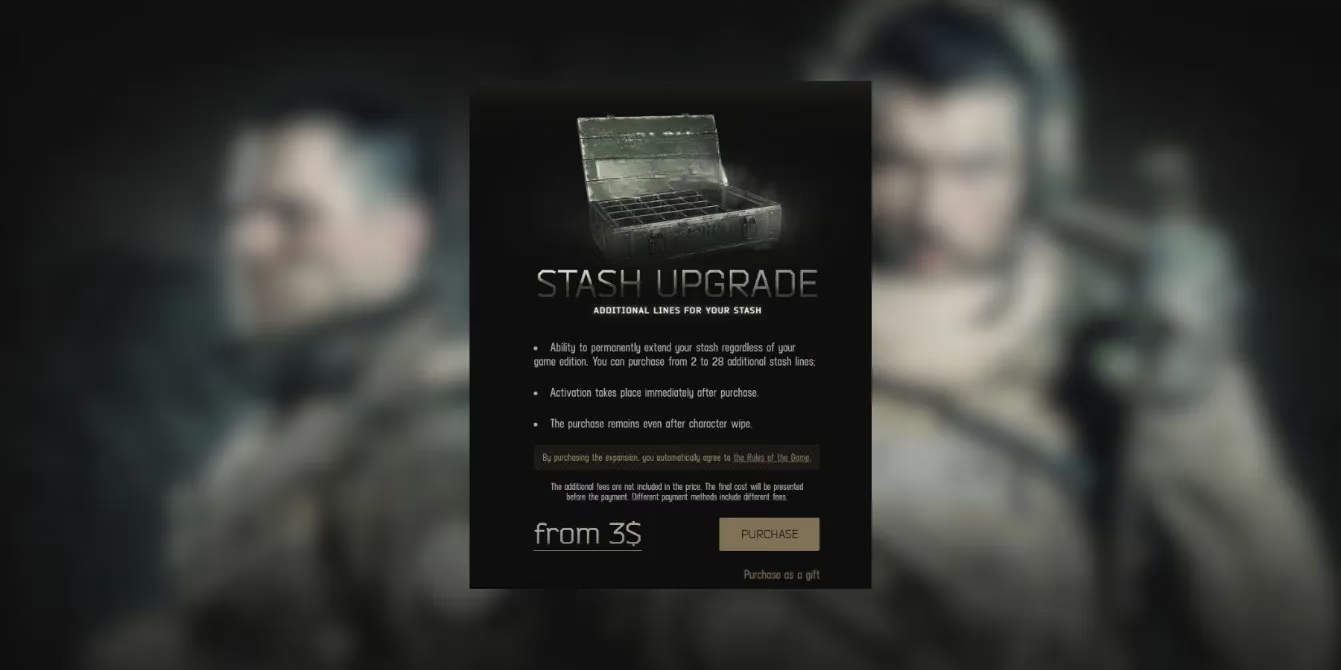
Let's be honest, not everyone has the patience (or the luck) to grind for weeks. For those who value time over roubles, Battlestate provides a direct solution. The official website hosts an expansions page where you can buy stash upgrades à la carte. This is a fantastic option for Standard Edition players who don't want to fully re-purchase a more expensive game version.
The process is as smooth as a successful extract from Streets of Tarkov:
-
Ensure you own Escape from Tarkov and are logged into your profile.
-
Navigate to the official website's expansions or upgrade section.
-
Locate the standalone "Stash Upgrade" product. Prices start very reasonably, often from a few dollars/euros.
-
Select your desired expansion. You can typically purchase blocks of additional rows (e.g., +2 lines, +10 lines, up to a maximum).
-
Complete the purchase. The upgrade is usually applied to your account automatically and near-instantly.
This method is the equivalent of calling a storage company to deliver a new shed to your hideout. It's quick, it's effective, and it lets you get back to the important business of hoarding more GPUs and military-grade filters. 😉
Method 2: The Hideout Upgrade (The Grinder's Glory)
For the purists who believe every square inch of stash space should be earned through blood, sweat, and barter items, the Hideout is your temple. This is the in-game, grind-heavy path to expansion, and it's deeply woven into Tarkov's progression system. It’s not just about space; it’s about pride!
Upgrading your stash via the Hideout is a multi-stage project that requires significant investment. Here’s the general workflow:
-
Access Your Hideout: This is your personal base of operations, accessible from the main menu.
-
Select the Stash Module: On the hideout management screen, find and click on the "Stash" station.
-
Gather the Required Tribute: This is where the real challenge begins. Each upgrade level demands a small fortune in roubles and a collection of rare, found-in-raid items. We're talking about:
-
Piles of cash (millions of Roubles, Euros, or Dollars).
-
Specific hardware like Corrugated Hoses, Pressure Gauges, and Wires.
-
Construction materials such as Bolts, Nuts, and Paracord.
-
High-value tech items that you'll desperately want to sell instead.
-
-
Craft and Wait: Once you've gathered all the required components and cash, you can start the upgrade. It then takes real-world time to complete—anywhere from several hours to over a day—during which the station is unusable.
This path is a marathon, not a sprint. It forces you to engage with every aspect of the game: looting specific locations, managing the flea market, and completing tasks to unlock later upgrade levels. The final stash size from fully upgrading your Hideout rivals even the best edition-based stashes, making it the ultimate endgame goal for dedicated operators.
Pro-Tips for Stash Management While You Expand
Regardless of your chosen expansion path, you'll need to manage the chaos in the interim. Here are some survival tips:
-
Invest in Containers: Items like the Lucky Scav Junkbox, Meds Case, and Weapon Case are lifesavers. They hold specific item types in a single stash cell, compressing your loot dramatically.
-
Sell, Sell, Sell: Be ruthless. Do you really need that 15th PM pistol or 30th can of sprats? Vendor non-essential, low-value items regularly.
-
Use Rig & Armor Storage: Tactical rigs and armored vests have their own internal grids. Store loose ammunition, meds, or grenades inside them before placing the rig in your stash for efficient packing.
-
Dismantle Weapons: Break down firearms into their components (remove magazines, scopes, handguards). The parts often take up less space than the assembled weapon.
-
Focus on Tasks: Many early quests require you to find and turn in specific items. Prioritize hoarding those and be quick to turn them in when the task is active to free up space.
In the brutal world of Tarkov, your stash is more than just an inventory; it's a reflection of your preparedness and strategy. Whether you choose the swift convenience of a direct purchase or embrace the arduous, rewarding grind of the Hideout, expanding it is a non-negotiable step on the path to dominance. Now get out there, secure some loot, and may your stash be ever-expansive! 🎒✨